Joom: Это устройство не заменяет профессиональный медицинский совет, диагностику или лечение. Перед использованием проконсультируйтесь с квалифицированным медицинским специалистом, если у вас есть сомнения. Продавец/дистрибьютор не несет ответственности за любые убытки, возникающие в результате неправильного использования, несанкционированных модификаций или использования вне указанных показаний.
-----
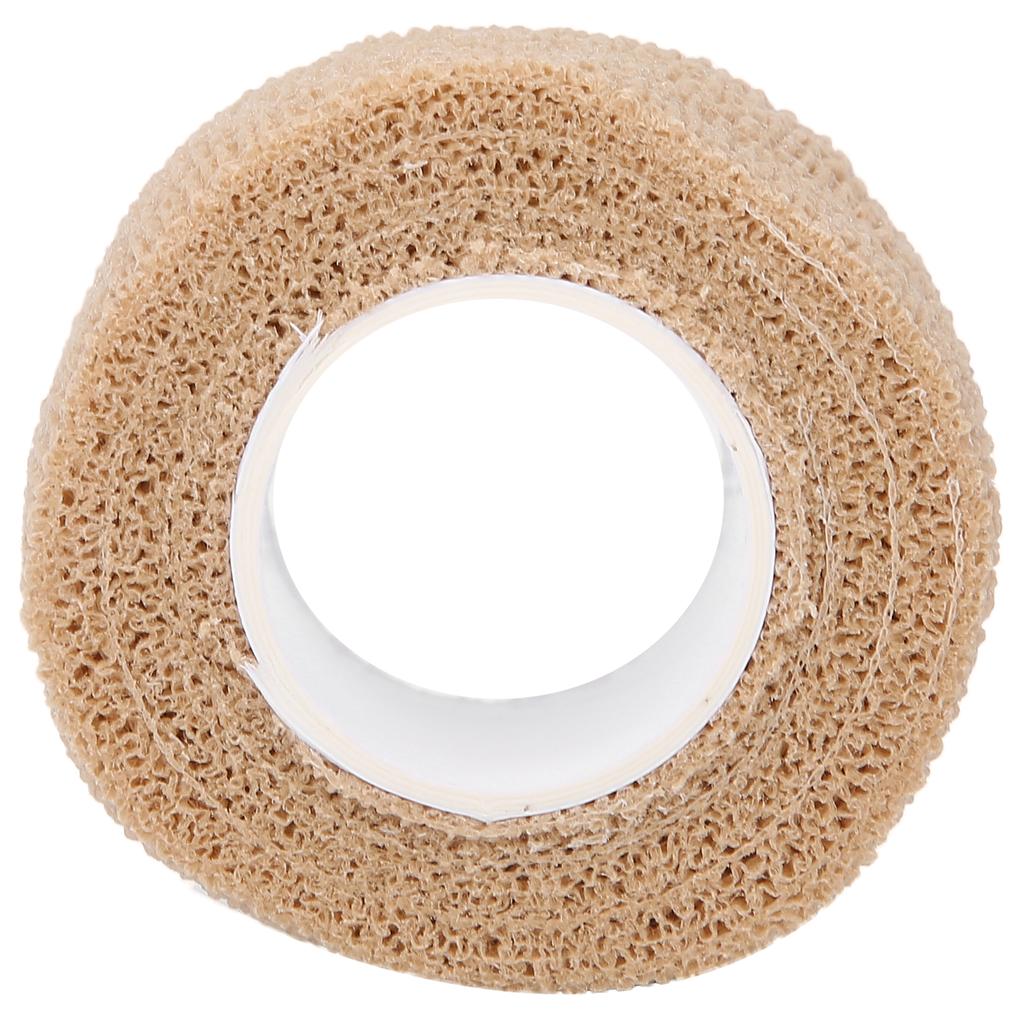
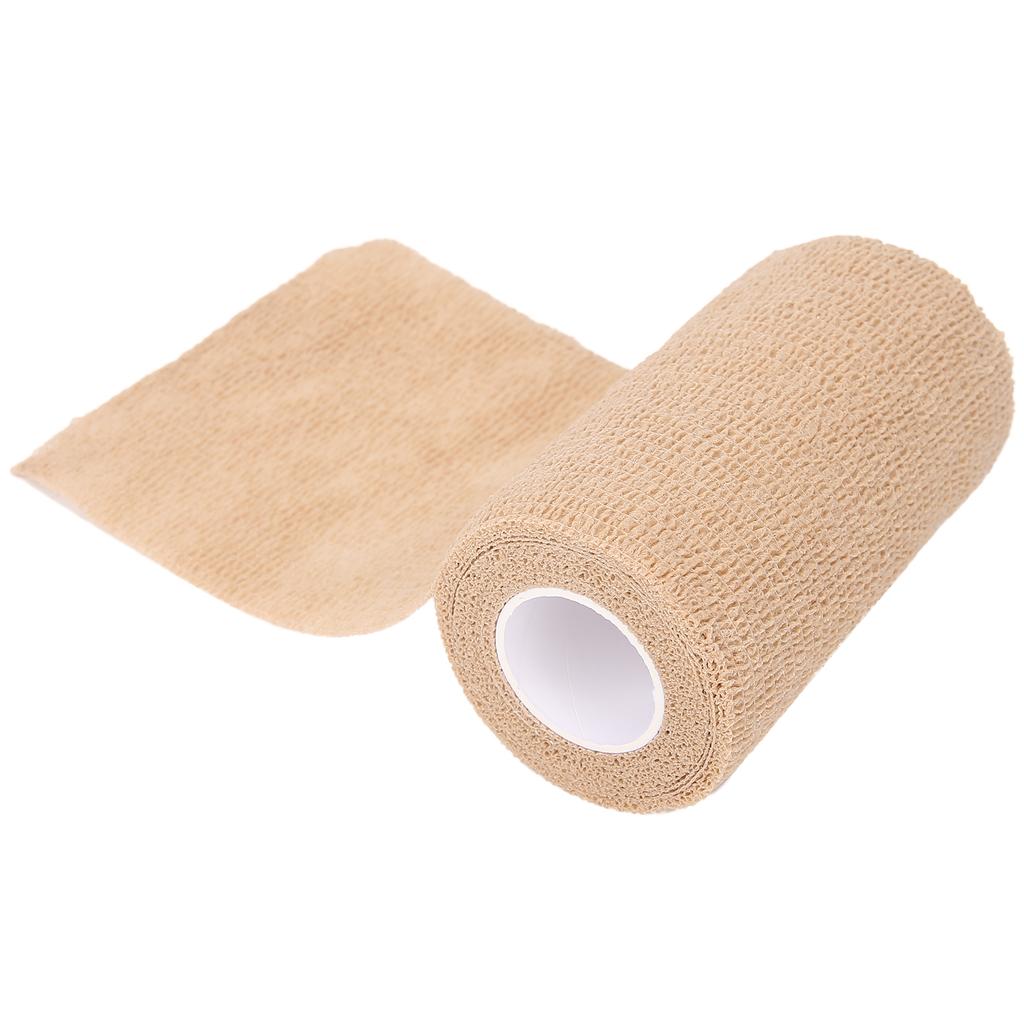
The bandage does not need a clip, the adhesive tape is fixed, will not fall off, does not need to be adjusted frequently, and is automatically bonded.
Easy to tear by hand, without scissors for bandaging, it can be torn off by hand, convenient and practical.
Low sensitization rate, no adhesive added, soft and light, elastic and recoverable.
Condition: 100% Brand New
Item Type:
Self
Adherent
Bandage
Material: Non-woven fabric
Applicable Scope: Used to provide binding force on wound dressings or limbs to play a role of bandaging and fixation.
Instruction:
Finger:
1. Bandage from the palm side of the finger to the nail.
2. The front and back layer bandages are overlapped by 1Celsius2, and the spiral bandage is done horizontally.
3. To the root of the finger, fix and cut off
Wrist:
1. Put the wrist muscles in a state of tension, and start bandaging the wrist.
2. The front and back layer bandages are overlapped by 1Celsius2, and the upper wrist is bandaged after moving laterally.
3. After confirming the fixation, cut off.
Thumb:
1. Fix it on the wrist and thumb respectively. Wrap obliquely from the wrist fixation to the thumb fixation.
2, the same from the wrist fixed place another-side to the thumb fixed place obliquely bandage. Form X shape with 1.
3. Use the same as 1 to fix the bandage separately.
Lap:
1. Slightly bend the knees, put the thighs in a state of a little effort, and start bandaging under the knees.
2. Across the knee, bandage the knee. Take care to avoid the patella.
3. Cut off after being compressed.
Elbow:
1. Fix the upper and lower parts of the elbow separately, and do oblique bandaging from the lower fixation to the upper fixation.
2. Similarly, from the other side of the lower fixing place, the upper fixing place is obliquely bandaged to form an X shape.
3. Use the same as 1 to fix the bandage separately.
Feet:
1. On the underside of the peroneal muscle (wrap 3 s) and the instep (wrap 1 ) respectively fix. From the fixed place on the inner ankle, go along the ankle centimetre heel centimetre outer ankle to the fixed place on the outer side, wrap three strips to form a V-shape.
2. Starting from the upper fixing point, bandage three strips one by one.
3. From the outer ankle, instep centimetre arch centimetre instep centimetre inner ankle, and then to the outer ankle, wrap around once.




 Возврат по недоставке


