</dada-widget:video>
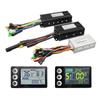
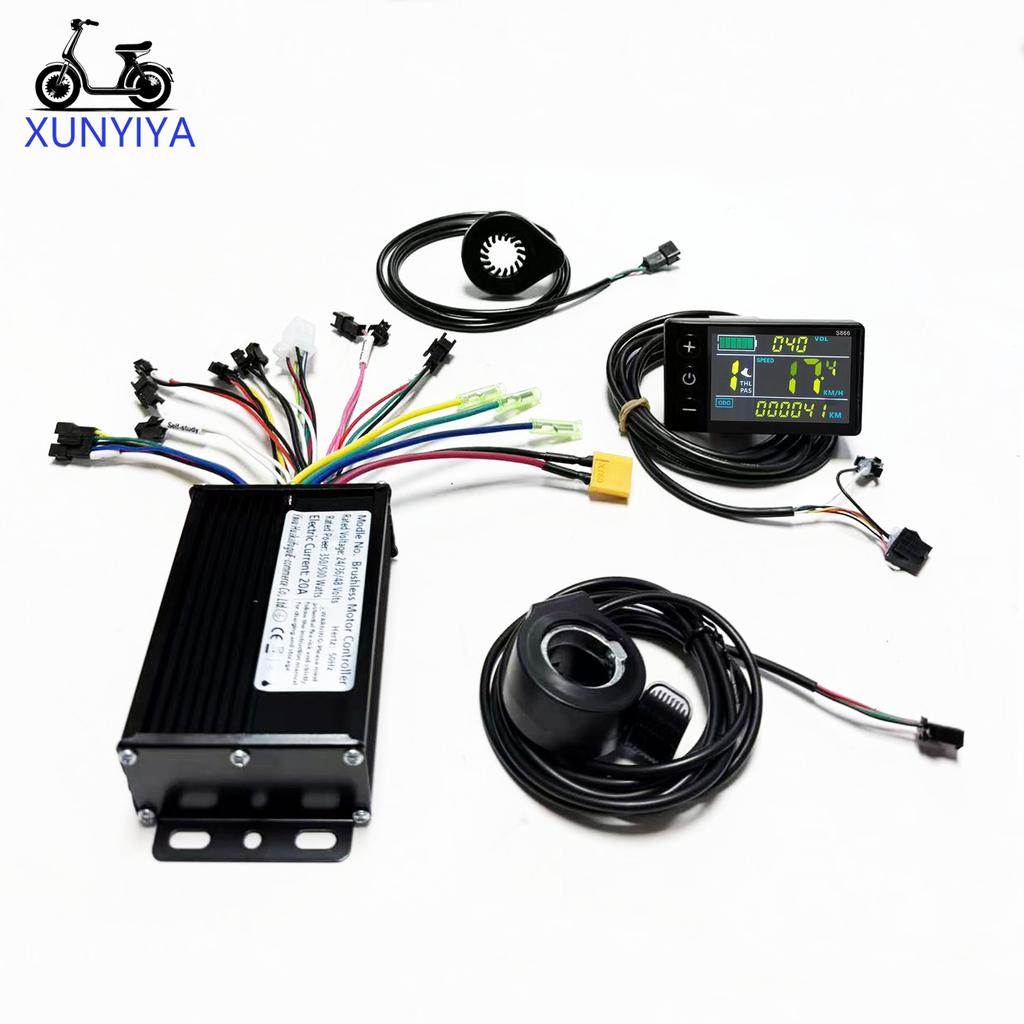
The LCD display can clearly display status and data, the backlight allows you to view the screen clearly in a dim environment, and the key operation is quick and easy to use.
The controller is a brushless controller, which works quietly and reacts sensitively to the status of the e-bike.
Easy to install and use, equipped with an LCD display bracket, suitable for 22.5mm handlebars.
You can set the power-on password, control the lights, and assist. The speed is divided into 3/5/9 gears, and the number of gears is optional. You can choose to divide or not divide the gears by turning the handle.
Suitable for electric bicycles and scooters.
Specifications:
Material: Plastic + LCD + Metal
Color: As shown in the picture
Power: 250W/350W
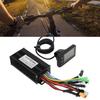
Controller size: Approx. 10x 7x 3.3 cm/3.94 x 2.76 x 1.38 inches
Display size: Approx. 8 x 5 cm/3.15 x 1.97 inches
Weight: Approx. 332 grams
Packing list:
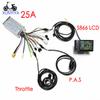
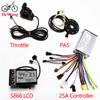
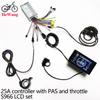
1 x LCD display
1 x controller
1 x pas
1 x throttle
Note:
Each cable is marked with different colors for different purposes.
Red (VCC) instrument power line
Blue (K) controller power control line
Black (GND) instrument ground line
Green (RX) instrument data receiving line
Yellow (TX) instrument data sending line
Note:
1. The product power is set to 8 at the factory, which basically corresponds to most split superchargers on the market. If the customer uses an integrated supercharger, please set it to 12.
2. P13 in the manual is the power setting of the product. If the supercharger is incompatible, the customer needs to adjust it to 8 or 12.
3. Please note that the controller model is sent randomly. Please confirm whether you are satisfied before placing an order.
How to use: After getting the product, please be sure to align the phase first: plug in the smart identification line and identify the motor. The identification line is two green lines. After plugging in, pay attention to suspend the car, and the motor will run automatically. At this time, if the direction of rotation of the motor is correct, run for 10 to 15 seconds, disconnect the identification line, if the direction is opposite, disconnect the identification line and plug it back, the motor direction will change to forward, run for another 10 to 15 seconds, disconnect the identification line, and the motor direction will change to forward. Run for another 10-15 seconds, disconnect the identification line, and the motor direction will change to forward. Run for another 10-15 seconds, disconnect the identification line, and it's done. After the identification is completed, the identification line remains disconnected, do not plug it back
E02 Brake: Check for a short circuit in the brake lever, failure to return to the neutral position, or physical damage.
E06 Battery undervoltage; charge the battery and adjust the voltage parameters.
E07 Motor Fault: Motor Hall sensor fault. Check the Hall sensor wiring for short circuits and ensure all connectors are properly plugged in. If everything appears to be in good condition, replace the motor.
E08 Throttle Fault: Check the throttle wiring and connectors; if they are in good condition, replace the throttle.
E09 Controller fault: The controller's MOSFETs are damaged; replace the controller.
E10 Communication Reception Fault:Checks:
1. Inspect the display wiring for any breaks.
2. Ensure the connections between the controller and the display are secure and intact.
3. Disconnect the pedal-assist sensor to see if the error persists. If the error clears, the sensor is short-circuited or damaged and must be replaced.
4. Disconnect the throttle to see if the error persists. If the error clears, the throttle is short-circuited or damaged and must be replaced.
5. Disconnect the motor Hall sensor wires to see if the error persists. If the error clears, the motor's Hall sensor is short-circuited or damaged; the motor must be replaced to resolve the issue.
6. If the above steps do not resolve the problem, use the substitution method—swapping out the controller or the display—to identify which component is faulty.
E16 Short circuit in the electrical system
Check the circuits connected to the ignition/power switch—such as those for the headlight, horn, USB port, or other external accessories—for any short circuits. Investigate potential short-circuit points one by one; after checking each component, power off the unit, wait for one minute, then power it back on to see if the E16 error persists.1. If the error no longer appears, the short circuit was caused by the device you just disconnected.
2. If the error persists, continue checking the next potential short-circuit point, repeating the process of powering off, waiting one minute, and powering back on. (Note: You must power off the unit and wait for one minute before powering it back on after checking each component.)Q1. What voltages does this controller support?
A: This controller supports 24V, 36V, 48V batteries.
Q2. Is my motor a brushless motor? How can I tell?
A: This controller is for brushless motors. Brushless motors are 3-phase wires + 5/6 Hall wires.
Q3. The LCD displays an E06 error code after I install it, what is the problem?
A: This is a battery undervoltage code, check if the battery is full and also please set your voltage in P03 in the LCD settings.
Q4. The LCD shows E07 error code after my installation, what is the problem?
A: This is a motor fault code, please check if the hall sensor and phase wire are connected correctly. And drive the motor with 4-5 high speed, E07 will disappear.
Q5. My brushless motor only has 3-phase wires, can I use this LCD kit?
A: We do not recommend LCD kit, but Hall will show E07 error code. We recommend our S810 LED panel kit, you can search in our shop.
Q6. My motor reverses, what do I do?
A: Please plug in the learning wire (auto-detect) to check your motor parameters for normal drive and compatibility, disconnect and plug in again to change the motor drive direction.
Q7.My electric PAS power pedal is not working.
A:
Method 1: The diameter of the wheel with the magnet is too small, or the magnet is not aligned with the sensor. Replace it with a 12-magnet sensor.
Method 2: The PAS sensor connector is loose. Try unplugging and replugging it, or change the wiring sequence.
Q8. Can the product be used without a separate instrument panel?
A: The product has a 5-pin instrument panel cable. Shorting the red and blue wires will start the device. Red is the positive power terminal, and blue is the ignition lock wire.
Brand Name: NONE
High-concerned chemical: None
Choice: yes



 Возврат по недоставке