Steering wheel cover - sewing pattern - LEXUS ES200 ES240 ES300 ES350 2018-2019 NX300 NX260 RX200 RX350h - BLACK THREAD
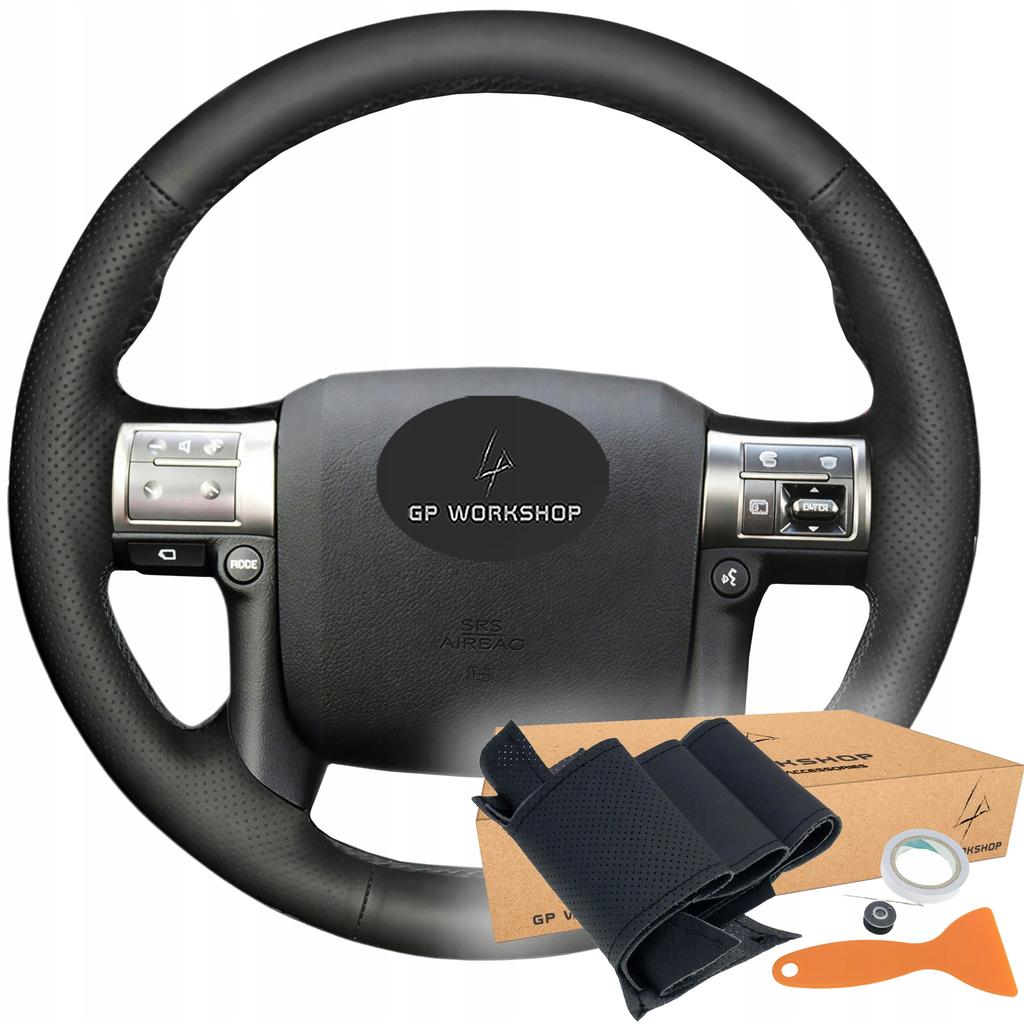
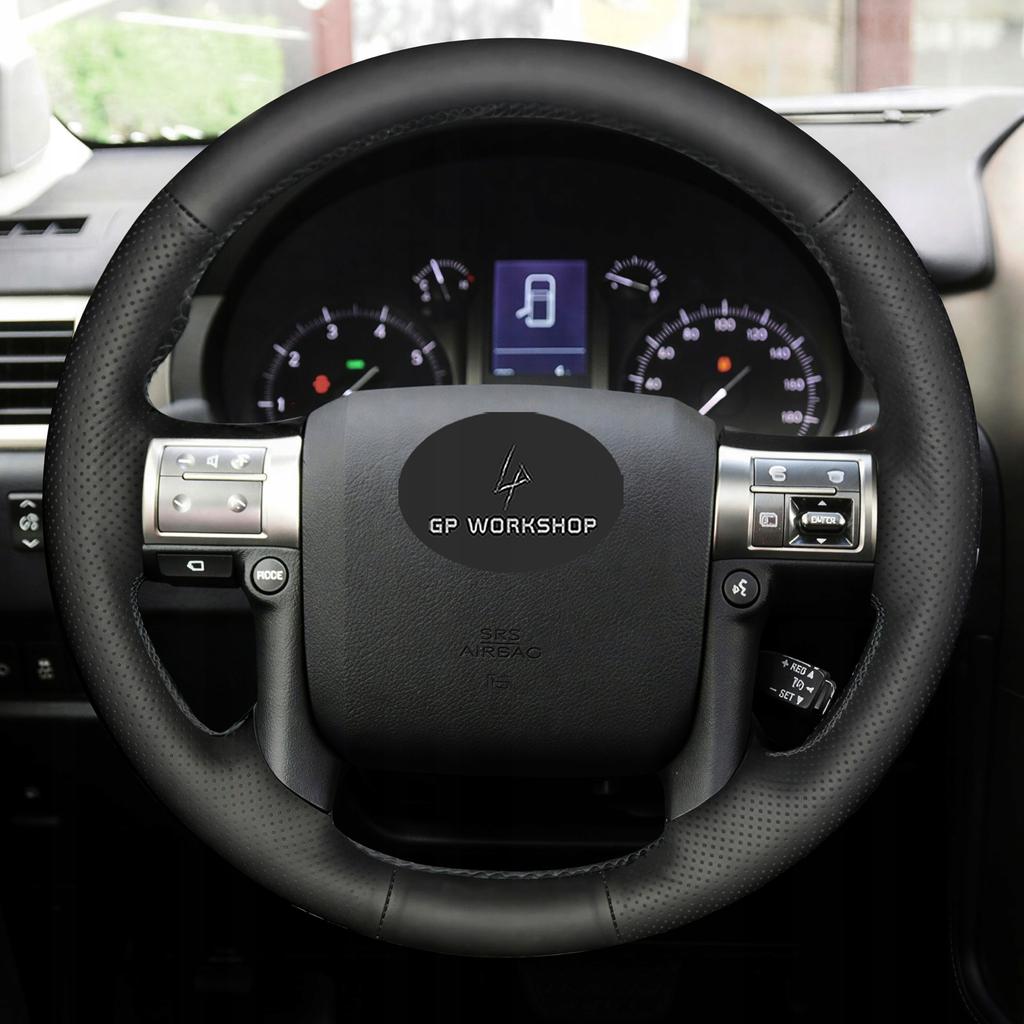
• Perfect Matched to the shape of the steering wheel - thanks to its dimensions for a specific steering wheel, the trim looks as professional as if custom-made by an upholsterer
• Perforated pattern - the trim has inserts made of ventilated material in the areas where the steering wheel is most frequently gripped, which significantly improves driving comfort, especially on warmer days
• High quality workmanship
• No need to remove the original trim
• Widen and improve the grip of the steering wheel
• The trim in this auction has been dimensioned to fit the steering wheel shown in the photos - LEXUS ES200 ES240 ES300 ES350 2018-2019 NX300 NX260 RX200 RX350h. The cutout will fit your steering wheel if it has the same spoke arrangement as in the picture. photos.
Why is it worth it?
• No need to remove the steering wheel - the trim can be easily installed without removing the steering wheel
• Sized for a specific steering wheel - thanks to the precise fit to a given steering wheel model, we gain an elegant and professional look
• High-quality material - the trim is made made of high-quality eco-leather (synthetic) with a semi-matte finish, which gives them a stylish look.
• The entire necessary set - the set includes a pattern for stitching the steering wheel, a tape for pre-positioning the pattern, a thread with a needle for stitching, and a squeegee for placing the ends in the slots.
• Color: semi-matte black stitching + black thread.
• The price in the auction is for one set for self-stitching.
Installation - stitching the steering wheel.
If you have some manual skills, you should be able to install this stitching without any problems. The die has threads released on both edges, so sewing is as simple as joining two edges.
• Clean the steering wheel - before assembly, it is best to clean the steering wheel of any dirt and grease.
• Stick the mounting tape - stick the included mounting tape, especially in all bends of the steering wheel - this will facilitate subsequent stitching and improve the adhesion of the stitching.
• Position the stitching - pre-install the stitching, making sure to install it on the right side (front/back) and stick it. to the installed mounting tape
• Connect the edges of the pattern - the pattern has raised hems on both edges, so you can simply connect them with a regular zigzag and tighten them slightly
• Using the included squeegee, press the ends - to make the hem look professional, press its ends into the slots of the steering wheel (e.g. in the place of the arms). Remember to press only the edge of the material to avoid damaging it.
• Enjoy the new look of your steering wheel!☺
Example assembly instructions in video form: youtu.be/IwtFc4fuzMM





 Товар из Польши


 Возврат по недоставке