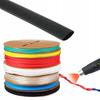
Transparent heat shrink tube 6mm 1m
Thin-walled, self-extinguishing heat shrink tubes are highly flexible. Designed for insulation, protection, identification and bundling purposes. They are widely used in electronics, telecommunications, and the automotive industry.
✅ Shrinkage ratio 2:1: Effectively reduces the diameter by half.
✅ Protection against external factors: After shrinking, it creates a protective coating.
✅ Ease of fitting: Takes the shape of the object inside.
‼️ You can check the exact parameters of the tube in the table below. The photo is for illustration purposes only, the offer applies to 1m of tube. By default, we cut the tubes in 1m sections or in one piece.
If you need a specific length, purchase the appropriate quantity and leave a message in the comments. (1pcs = 1m)‼️
✳️ Specification:
✔️ Color: Colorless
✔️ Diameter: 6mm
✔️ Diameter after Shrinkage: 3mm
✔️ Shrinkage temperature: Start at 100°C
✔️ Total shrinkage: 110°C
✔️ Elongation at break: > 300%
✔️ Application range: -30~125°C
✔️ Shrinkage ratio: 2:1
✔️ Axial shrinkage: 士5%
✔️ Non-flammable: Yes
✔️ UV resistant: Yes
✔️ Tensile strength: > 12MPA
✔️ Maximum voltage: 1000V
✔️ Waterproof seal
✳️ Here are some examples of how these heat shrink tubes can be used:
✔️ Electrics and Electronics: Heat shrink tubes are ideal for insulating and protecting electrical wires, joints, and connections. They protect against dust, moisture, and mechanical damage, and minimize the risk of short circuits.
✔️ Technical Repairs: When repairing electronics, household appliances, or electrical devices, heat shrink tubes can be used to renew wire insulation or secure connections.
✔️ Automotive: In the automotive industry, heat shrink tubes are used to insulate and protect wires in cars, motorcycles, and other vehicles. Protects against moisture and corrosion.
✔️ DIY Projects: Those who enjoy DIY can use heat shrink tubing to create professional insulation for their projects, such as model building, electronic circuits, etc.
✔️ Markings and Color Codes: Different colors of heat shrink tubing can be used to mark wires or connections, making identification and maintenance easier.
✔️ Protecting Electronic Components: Heat shrink tubing can be used to protect delicate electronic components such as diodes, capacitors, and microswitches.
✔️ Insulating Water Lines: In some applications, heat shrink tubing can be used to insulate water lines or pipes, providing protection against corrosion and moisture.
✔️ Creating Seals: Heat shrink tubing can be used to create seals in various applications, e.g., to insulate pipe connections in water or gas installations.
✔️ Workshop Work: In mechanical and electrical workshops, as well as in technical industries, heat shrink tubing is widely used for repairs and maintenance.
✔️ Emergency Repairs: In emergency situations or in the field, heat shrink tubing can help quickly secure damaged wires or connections.
✳️ Installing heat shrink tubing is a relatively simple process, but it does require some steps to get durable and effective protection for wires or connections. Below you'll find step-by-step instructions on how to properly install heat shrink tubing:
✔️ Preparing Materials: Make sure you have all the necessary tools and materials. You'll need the appropriate size heat shrink tubing, a heat shrink gun or other heat source, and the wires or components you want to insulate or protect.
✔️ Preparing Wires: If you're protecting wires, make sure they're clean and dry. You can also slit the wire insulation to prepare them for the tubing.
✔️ Selecting the Tube Size: Choose the appropriate heat shrink tubing that matches the diameter of the wires or components you're protecting. Remember that the tube should be slightly larger than the wire to ensure a perfect fit after shrinking.
✔️ Tube Placement: Slide the heat shrink tube over the wire or component you want to protect. Make sure the tube is positioned correctly and covers the entire length of the area you want to insulate.
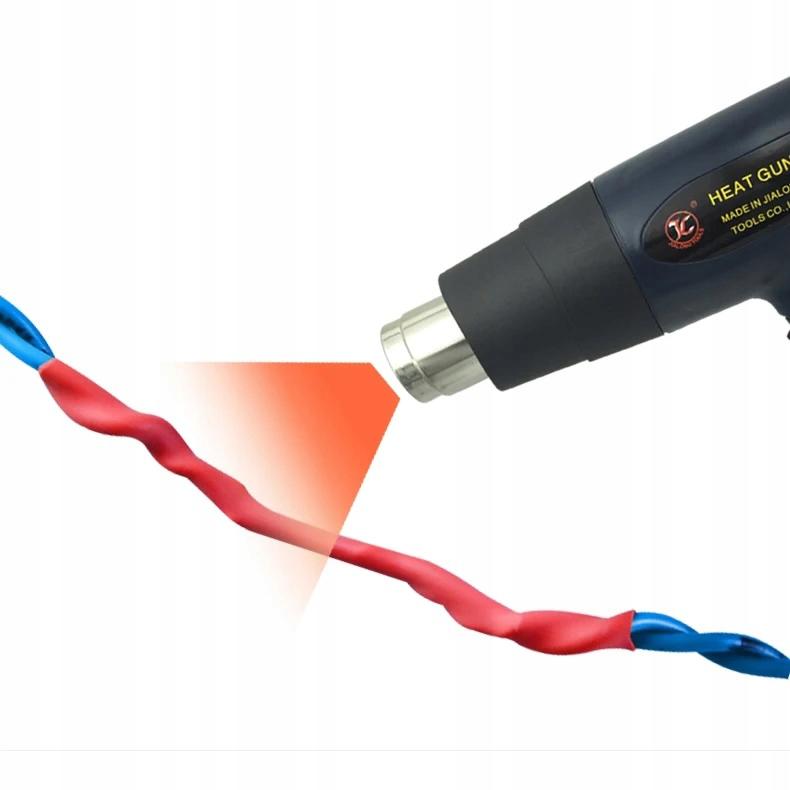
✔️ Heat Application: Direct a heat source (heat shrink gun, hair dryer) at the heat shrink tube. Remember to keep the heat source at a distance from the tube and avoid heating any one spot for too long to avoid overheating.
✔️ Shrinkage Observation: The heat shrink tube will gradually shrink when exposed to heat. Monitor this process to ensure the tubing shrinks evenly and adheres to the wire or component.
✔️ Shrink Thoroughly: Ensure the heat shrink tubing fits snugly around the wire and covers the entire area to be protected. Some tubing will shrink by as much as half its length.
✔️ Cool Down: Once the tubing has been thoroughly shrunk, allow the wire or component to cool. Ensure the tubing is completely cooled before proceeding.
✔️ Condition Assessment: Check that the heat shrink tubing is installed correctly and has provided solid insulation or protection. Make sure there are no damages or inaccuracies.
✔️ Repeat (optional): If you are securing multiple wires or components, repeat the same steps for each one.




 Товар из Польши


 Возврат по недоставке