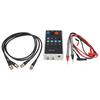
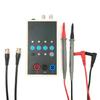
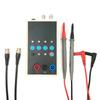
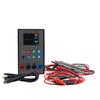
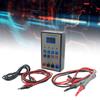
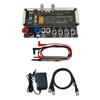
Feature:
1. SAFE OPERATING: ASA testing does not require power on the circuit board. ASA testing does not involve circuit principles and does not require the circuit to be in operating
2. STRONG ADAPTABILITY: ASA testing does not involve the functions of the devices on the circuit board, so that can be tested regardless of the type of devices the circuit is composed of, including digital, analog, and mixed signal devices, etc.
3. 4 FREQUENCY SETTINGS: Adjustable AC speed(can be used when the VI curve tester is connected to an oscilloscope, both analog and digital oscilloscopes are applicable)
4. MULTIPLE DISPLAY MODES: ASA testing device supports dual signal input, alternating display, click single channel or alternating display, very flexible
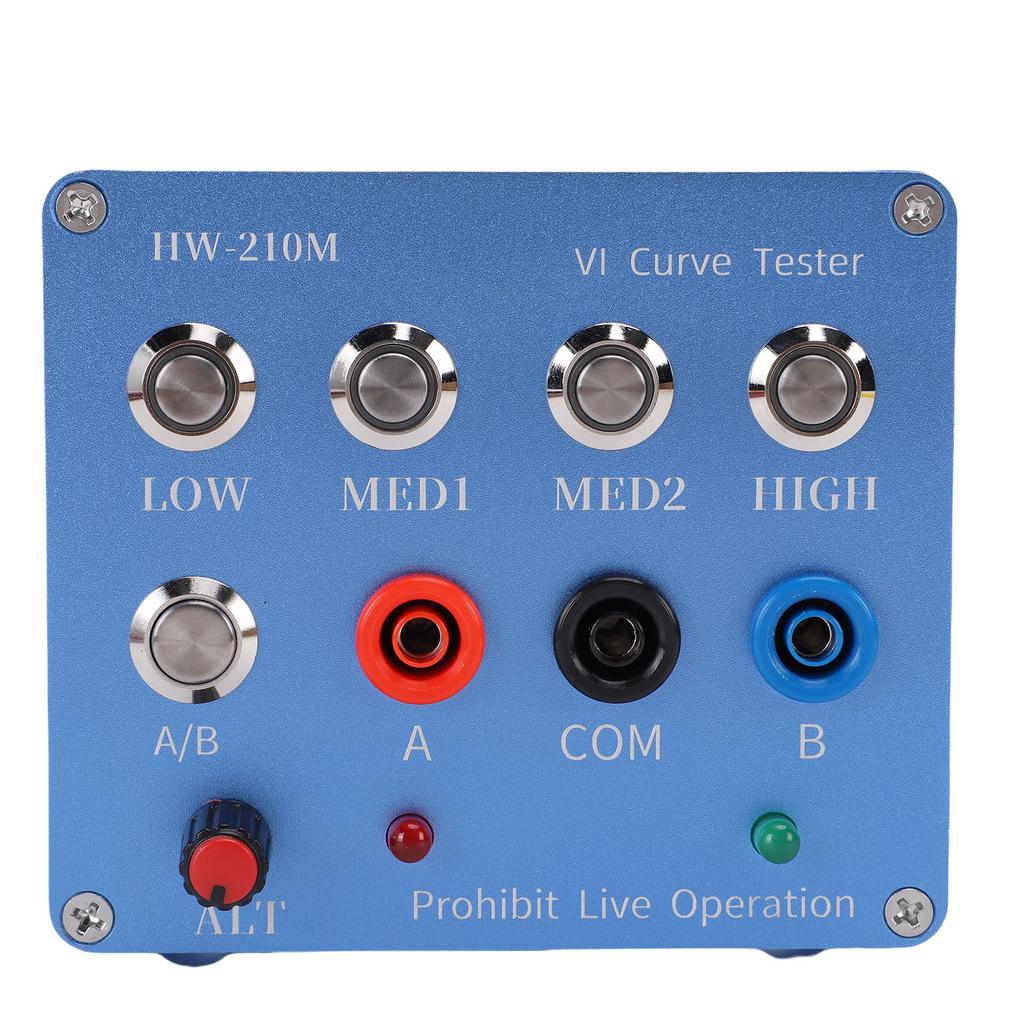
5. WITH INDICATOR LIGHT: Double channel VI curve tester is equipped with a blue operating indicator light, making the operating more intuitive
Specification:
Item Type: VI Curve Tester
Model: HW 210M
Internal Resistor: 56 Ohm , 220 Ohm , 1K Ohm , 20K Ohm adjustable
Frequency: 40Hz, 350Hz, 2kHz, 14Hz adjustable
Material: ABS
How to Use:
Oscilloscope Parameter Settings:
Set the oscilloscope to X Y mode (different oscilloscopes have different adjustment methods, please explore on your own).
Adjust the vertical parameters of the X and Y channels to 1V div, just adjust one single channel oscilloscope.
No need to adjust the time base for analog oscilloscopes, adjust the time base to 1 5ms for digital oscilloscopes.
After correct connection, the oscilloscope will display a horizontal line. If a vertical line is displayed, the xY plug is reversed.
Adjust the vertical and horizontal parameters so that the horizontal and vertical lines are located in the display box.
Connecting an analog oscilloscope:
Connecting an analog oscilloscope is relatively simple, slightly different for different oscilloscopes.
Set the oscilloscope to xY mode. Some oscilloscopes can be selected by pressing a key, while others can be selected using the xY mode knob. Please learn on your own.
Connect the BNC cable to the oscilloscope and power it on. Usually, a horizontal line will be displayed. Adjust the xY vertical channel parameters to around 1V div, then adjust the xY attenuation to place the horizontal line within the display box. It can also be verified via VI test. The upper x attenuation potentiometer can help adjust the length of the horizontal line. If the test pen is short circuited, a vertical line should normally be displayed. If the vertical line is too long or too short, then the parameters of the Y channel need to be adjusted so that the vertical line appears in the display box. Half a grid or one grid at the side is better. If the horizontal and vertical lines are normal, normal measurement values can be input.
How To Connect Digital Oscilloscope:
For digital oscilloscopes, enter the XY mode through the menu or keys. Adjust the two channels of XY to 1V div. For a monorail oscilloscope, only the Y channel needs to be adjusted. Adjust the time base to 1 5 milliseconds. The xY channel selects DC coupling and the attenuation is 1x.
When the oscilloscope is not connected, the screen should be a bright spot. Adjust the horizontal and vertical directions to center the bright spots. Connect the VI tester. Usually, it should be a horizontal line. To form a horizontal line in the display box, a half grid or one grid to the side is a better short circuit test line. At this time, the display should be a vertical line. Adjust the parameters of the Y channel so that the vertical line is within the display box. So far, the debugging has basically been completed.
When testing the circuit board online, do not charge it. If there is a large capacitor on the circuit board, please discharge the capacitor first; Otherwise, the VI test board is very likely to be burned out..
Package List:
1 x Curve Tester
2 x Testing Pens
2 x BNC Cables




 Возврат по недоставке